I'm currently making good progress with this model. The basic shapes are easy enough to model from standard primitives. Right now, I need to work on the detail of the Bandstand such as the pillar supports and railings. Texturing will most likely present a challenge because I am not very confident with mapping. Creating the textures themselves shouldn't present much of a problem as I am fairly confident with my photoshopping skills. My style of choice is inspired by the hit video game "the Walking Dead" which has quite an easy to replicate visual appeal.
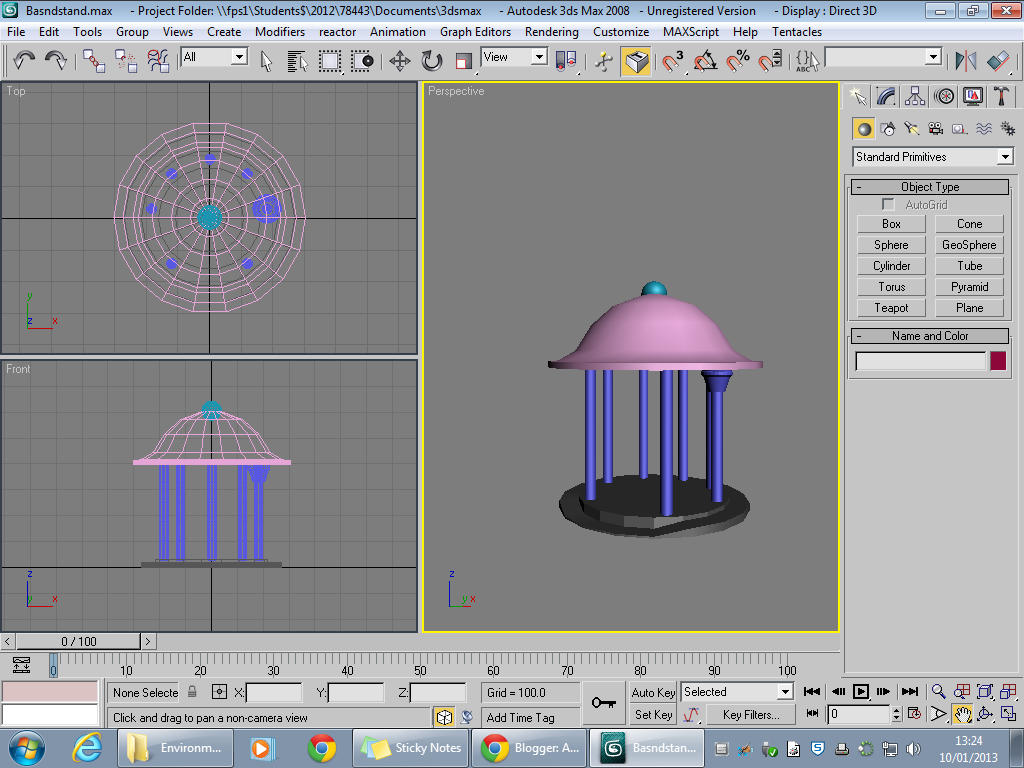
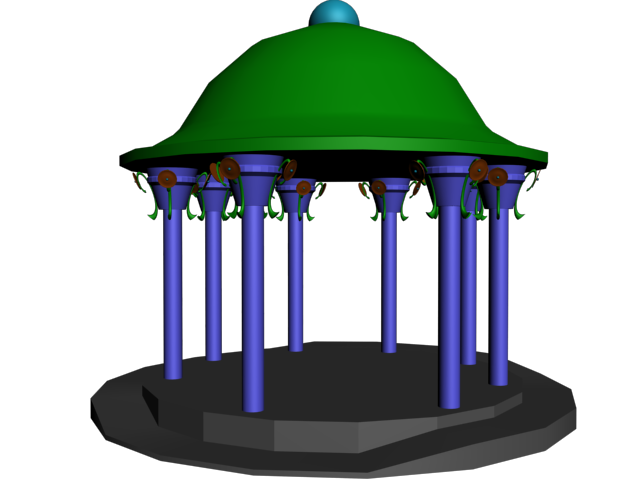
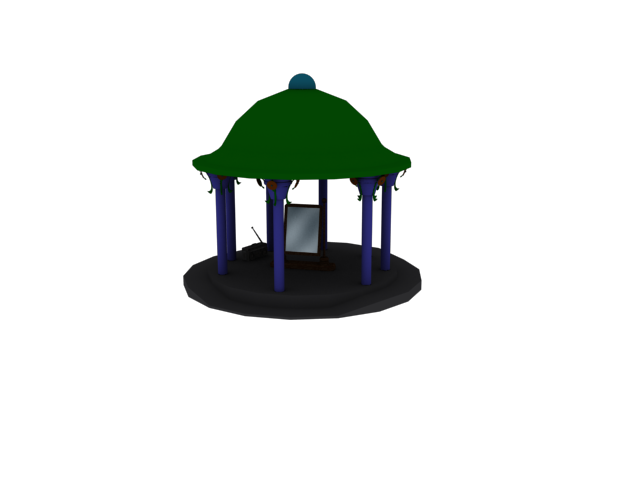
The Bandstand is mostly completed, all that is left to do on this model is the railings. I'm going to be modeling separate models to be exported into this environment.
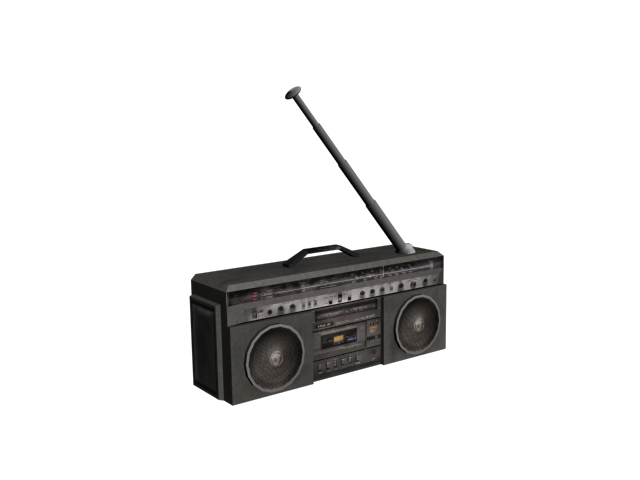
Now that the bandstand itself is mostly completed, I've begun to model little extra things such as this unfinished stereo. I plan to add a few more objects such as violins or guitars. The texture for this particular model is presenting quite the interesting challenge. I'm mostly grabbing bits of images and putting them onto the UVW map in photoshop. Some of the texture is being drawn by me personally. So far I'm not really sticking with the comic style and steering towards photo-realism which will be very hard to do correctly.
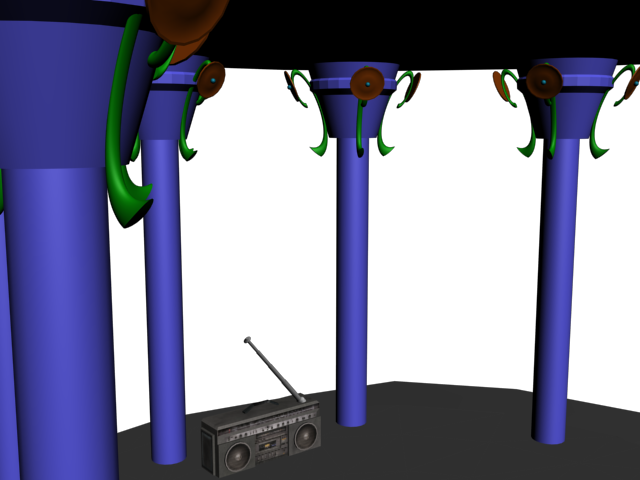
The stereo is finished!
Just a quick render. I've been continuing making small objects such as bins to be put into this environment. It shouldn't be to long before I'll start to create the rest of the main environment, the half-moon cafe and statue platform included. It should present quite an interesting challenge and I look forward to trying to model it... or so I say
This session, I have begun to model a mirror that shall be used in the final animation. This is the first stand in the model. The mirror shall be used to transition my environment into another team members most likely Rory as he is modeling the Half-Moon cafe... yes, he stole a part of my planned environment...
With the mirror completed, I can now try to focus on the rest of the model. I tried a displacement map on a plane for the ground but it made my poly count sky-rocket. A limitation with using this kind of software is you can't have a model to high poly or it will destroy the computer. 3DS Max has a habit of crashing when a model becomes ultra high in poly count... I've learnt this the hard way
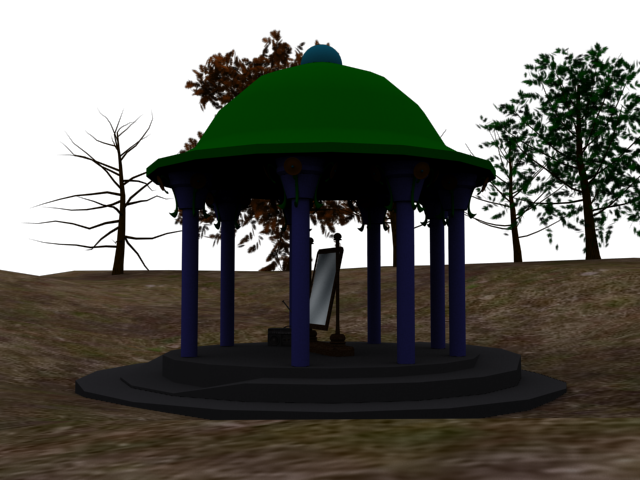
I have now started on the surrounding environment for the bandstand. This render has no Skydome but I have now created one. Skydomes are simple to make once you know what to do. They are made from standard spheres and then cut in half, the remaining polygons are then flipped. A sky texture is then applied giving the affect of a sky!
Lighting and atmospherics have been completed and I am now animating my environment. The fog was created by editing the environment parameters to include fog. Two types of fog can be added in the environment editor, a volumetric fog and standard fog. The setting used in this environment render is a standard fog. Volumetric fog just looks a little fake to me and looks like it's just slapped on at the last minute. Here's some more epic panning shots: